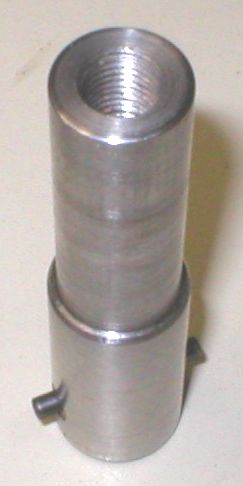
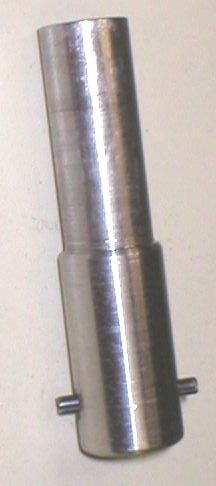
X-Axis Powerfeed for Mini Mills Part 2 The next step was to figure out how to package it so that it would drive the mill. The first step was to create a coupler to connect the shaft of the drill to the table leadscrew. The drill shaft was a standard thread but I can't remember it for sure now. I believe it was 3/8 x 16tpi but don't quote me on that. At any rate, I created the following coupling on my lathe:
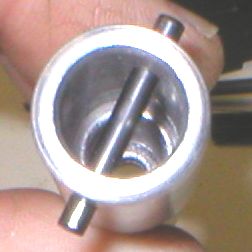
One end is threaded to fit the drill shaft. To allow it to run in either direction without unscrewing itself I bored the other end and drilled a hole through it to allow for the left-handed screw that held the chuck on the drill. Note: I found out the hard way that you need Locktite on the screw! The outside diameter of this end is 5/8" to fit a bushing I happen to have quite a supply of in my junk bin. The other end is bored to fit the end of the leadscrew on the mill. Fortunately mine included a leadscrew that already had a notch in the end of it to connect a powerfeed so I put a roll-pin through the coupling to fit into the slot. Before final assembly I cut the pin to the diameter of the coupling.
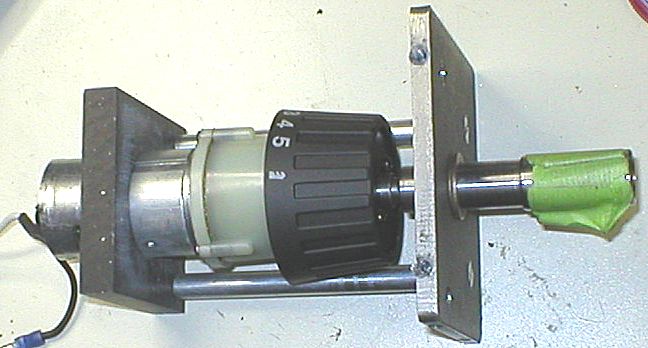
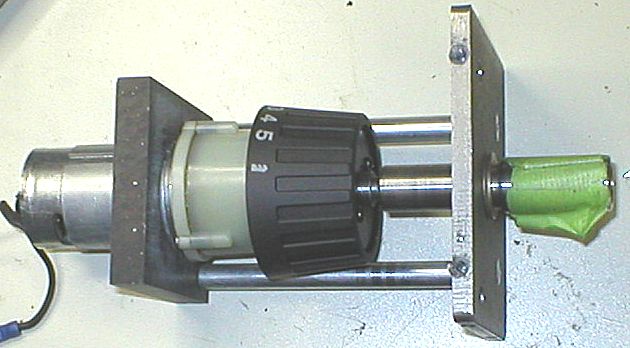
The next step was to figure out how to mount the motor. I really didn't want to have to fight with turning the motor and gearbox whenever I wanted to move the table manually so I had to figure out an easy way to mount it that would allow me to disengage it. I decided that mounting it so that the motor could slide in and out would be easiest so I let the coupling described above slide through a 5/8" bushing and I used a block of plastic to machine a similar arrangement for the motor to slide through as shown below:
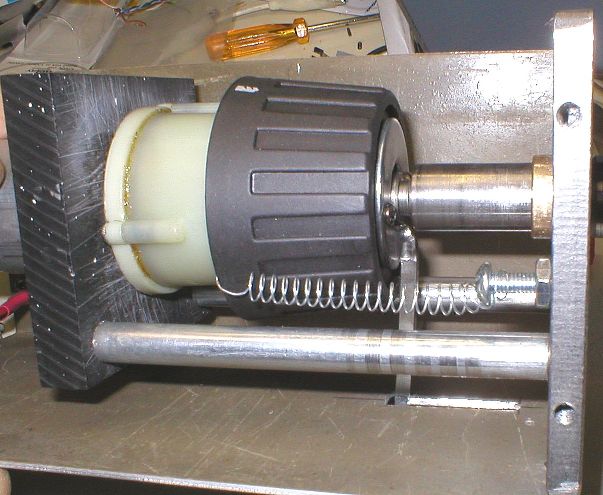
The block I used for the mount is a sample of a resin kitchen countertop, similar to Corian. I picked up a box full of them at a thrift store a couple of years ago just for this type of thing. The sheetmetal wrapped around the motor that looks like a shim was not added by me. It came that way. The green tape is just there to hold the left-handed screw to the coupling so I wouldn't lose it. Now I needed a way to slide it and a way to hold it in the engaged and disengaged positions. I figured a spring would be good to engage it. That way I could just release it and the spring would force it to engage as it turned and reached the point where the roll-pin would drop into the notch in the leadscrew. I ended up putting a lever on the front of the motor and connecting a spring from it to the front plate to pull the motor toward it like this:
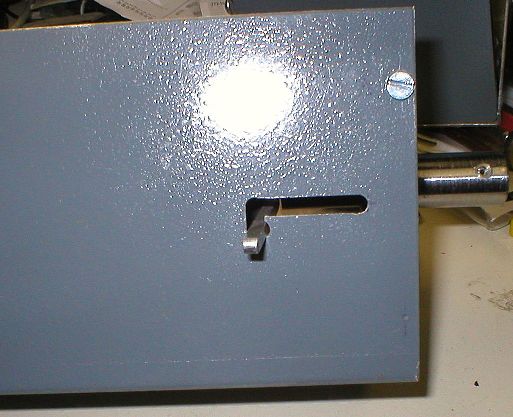
I cut a slot in the bottom of the case with a notch to hold it in the disengaged position like this:
|